Lest We Forget…
Last month, I received a message from the lovely Sally from Pheasants and Tweed asking me to trial a new cutter. A couple of days later, this lovely cutter arrived and to tie in the 100th Anniversary of the end of World War One I was asked to make some poppies.
Following on from a poll on Instagram, I have decided to do a step by step guide as to how I made them!
First of all, you have to make the dough. I use a mixture of plain and self-raising flour, mixed with sugar and butter. This turns into a mixture like breadcrumbs, into which you add an egg, golden syrup and vanilla extract. This gives my biscuits a lovely syrupy sweet taste rather than just a normal shortbread. I love this recipe because once the dough is made, there is no need to chill it, you can use it straight away.
The dough is then rolled the thickness of a £2 coin before using the cutter to cut out the shapes. I always roll my dough out between cling film because it means the dough doesn’t dry out from too much flour!
After that, the biscuits are transferred to a baking tray and baked. Another reason why I love this dough is that it spreads very little, meaning you can do detailed and delicate shapes and know they will still look the same once they’re cooked! Once they’re cooked and cooled the fun can begin…
To begin you need royal icing (I don’t know how many eggs I get through, if anyone has any good egg yolk recipes then please let me know!) You need two different consistencies of royal icing, line (to draw the outlines with) and flood (to fill everything in). I like to have all the colours mixed before I start icing in order to have everything organised. To begin, you outline the whole poppy – I took the Royal British Legion poppy as my inspiration, so I wanted the split top and bottom petals but you could just outline the petal. Once it has been left to dry for a few minutes, it is then hard enough for me to outline the leaf – I leave it to set to avoid the colours bleeding into one another.
After about 5/10 minutes the line icing is dry enough to start flooding the biscuits. I always start from the outside and work in, that way the biscuits don’t get overfilled and starting flooding over the edges. You can leave it to set, but it’ll take several hours, to speed up the process, you can but the biscuits back in the over on a very low heat – the coolest oven in an Aga or about 50 degrees for electric ovens. The biscuits will then set in about 30 – 40 minutes and leave your biscuits with a lovely shiny icing!
You’re now ready for the final finishing touches! The bit which are going to make your biscuits stand out! Beginning the with the black centre to your poppy, before adding the outline of the petals to help them stand out. If you’re feeling really confident or simply want to practise your piping skills, you can also adding lettering around the petals!
So there you you have it! A step by step guide to icing poppies, just in time for Remembrance Sunday. I would love to see yours, please tag me on Facebook or Instagram or if you don’t fancy having a go at your own, I am selling 8 biscuits for £15 with £5 from each box going to the Royal British Legion.


Are you ready for the cheeky elf’s return?
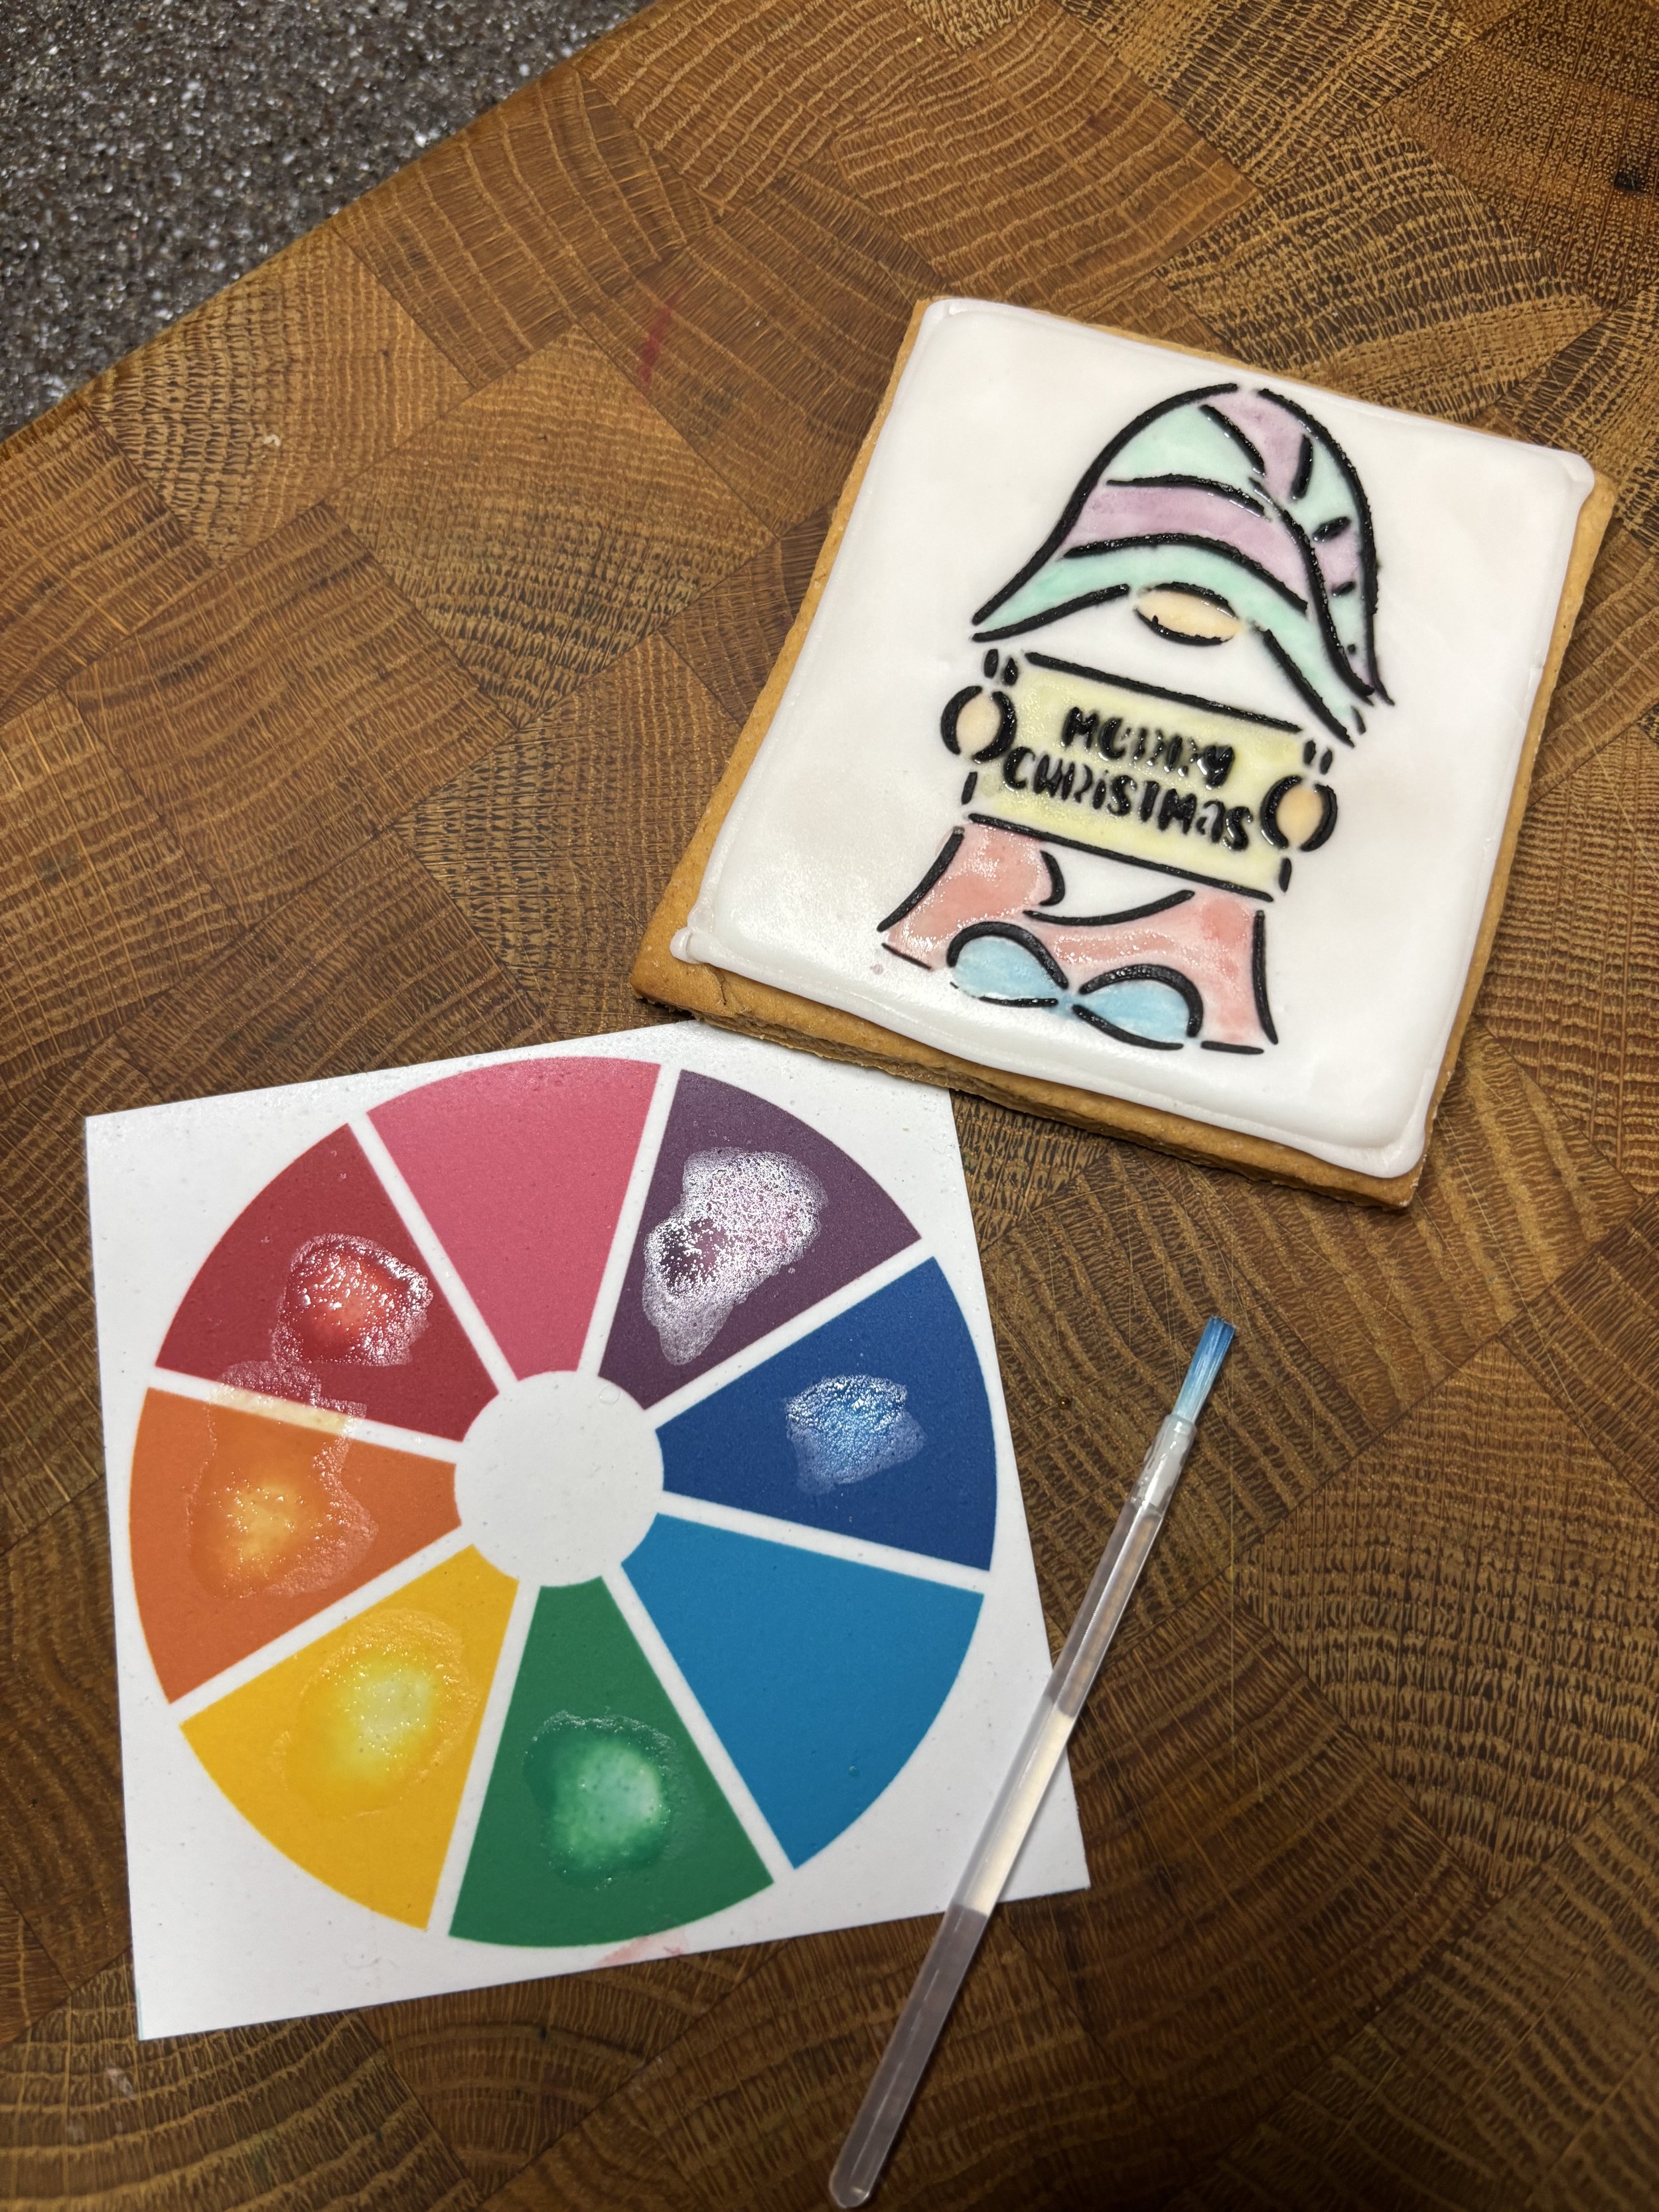
This might be the perfect start in the run up to Christmas! A paint your own biscuits complete with paint palette and paintbrush!